Floor Plan
The Plan tab shows the component's location on a building floor plan.
Viewing the Floor Plan
The floor plan is an interactive viewer with:
- Pan — drag with one finger to move around
- Pinch to zoom — use two fingers to zoom in and out
- Zoom buttons — tap + or - for precise zoom control
- Center button — tap the locator icon to center the view on the current component
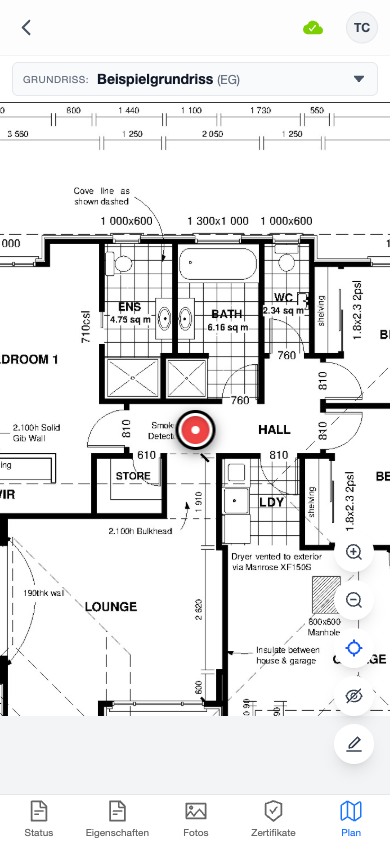
Current Component Marker
The current component is shown as a red pulsing dot on the floor plan. This marker stays the same size regardless of zoom level, making it easy to spot.
Other Component Markers
Tap the eye icon to toggle the visibility of other components' markers on the same floor plan. Other markers appear as smaller colored dots.
Document Selector
If a project has multiple floor plan documents (e.g., different floors), use the document selector dropdown at the top to switch between them.
The app automatically finds and displays the document that contains the current component's marker.
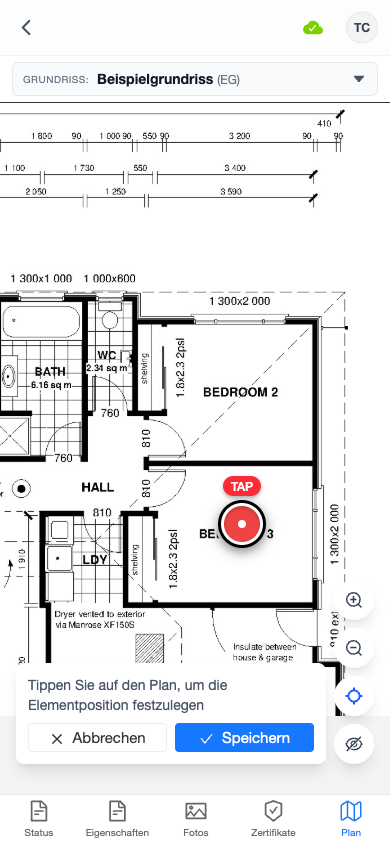
Placing or Moving a Marker
To set or update a component's position on the floor plan:
- Tap the edit (pencil) button to enter edit mode
- Tap on the floor plan image where the component is located
- A marker preview appears at the tapped position
- Tap Save to confirm the position
When placing a marker on a component that doesn't have a location set yet, the app may prompt you to enter a location. If the floor plan document has department and storey metadata, these are automatically applied to the component.
Marker placements also work offline — the changes are queued and synced when you go back online.